How to Set up a Canvas Bell Tent
Setting up a Bell Tent is not as complex as you might think. But like anything it requires know how and a bit of practice. To help here are our step by step instructions:
Total Time Needed: 30 minutes
Required Tools: Mallet
Step 1: Lay the tent out flat, with the groundsheet attached.

Step 2: Ensure the tent is pulled taut all the way around and the door is facing the desired direction.

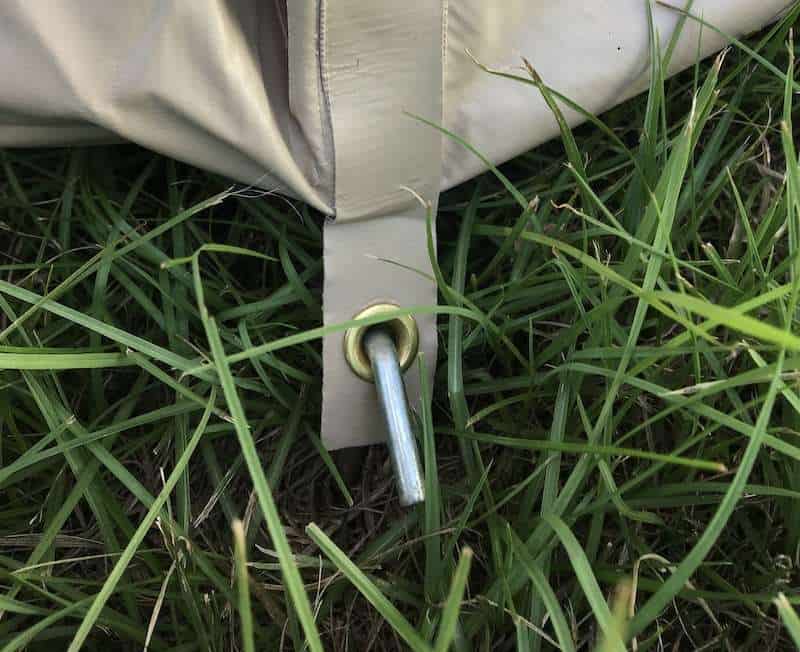
Step 3: Insert groundsheet pegs in the peg tabs all the way around the tent using a mallett.

Step 4: Unzip the doors of the bell tent.

Step 5: Walk the unfolded centre pole into the bell tent and insert the top of the pole into the centre of the roof peak.
Step 6: Lift the weight of the canvas up with the top of the centre pole, whilst sliding the bottom of the pole into the centre of the groundsheet. Ensure the pole is centred and not on an angle.
Step 7: Walk the length of A-frame into the tent, and fully extend once inside. Insert the spike at the top of the A-frame pole into the small hole above the doorway. Place the feet of the A-frame pole into the floor pockets either side of the doorway.
Step 8: Secure the A-frame pole with the tent ties.
Step 9: Place the raincap on the spike of the A-frame outside of the tent.
Step 10: Zip up the doors
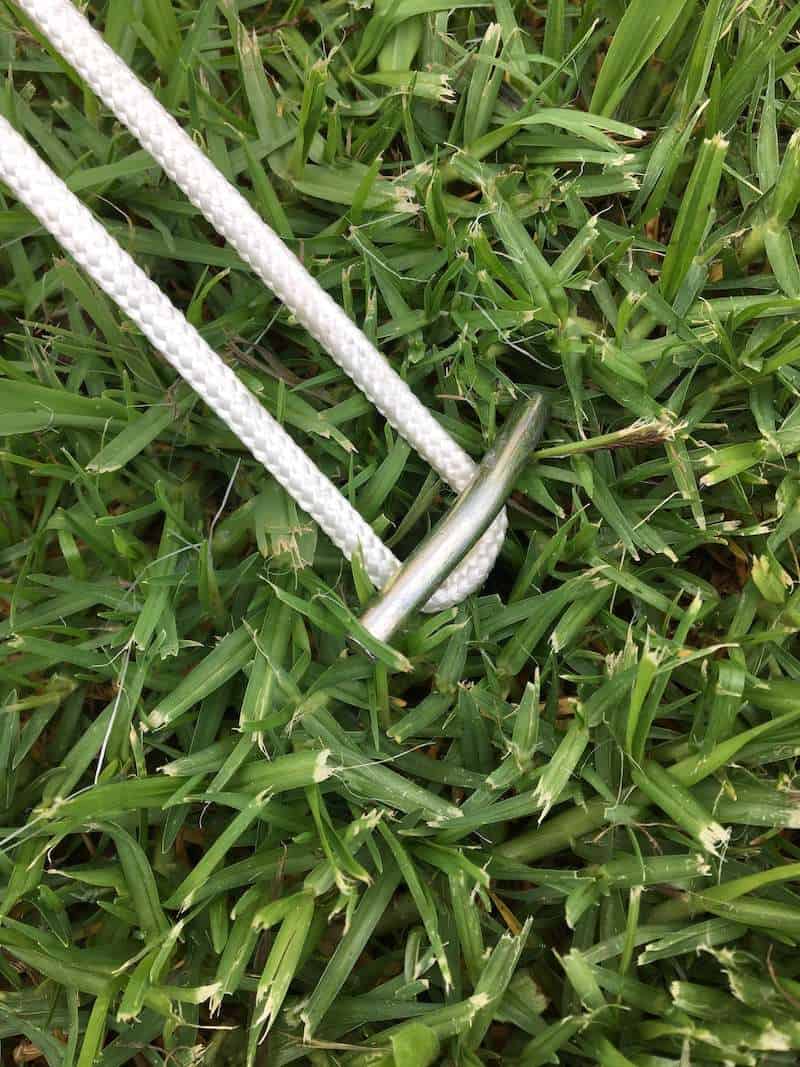
Step 11: Secure the front 3 guy ropes with pegs, following the seam lines of the roof, then secure the back and side guy ropes all the way around, and check tension. Guy ropes should be approx 1 metre in length to the peg

